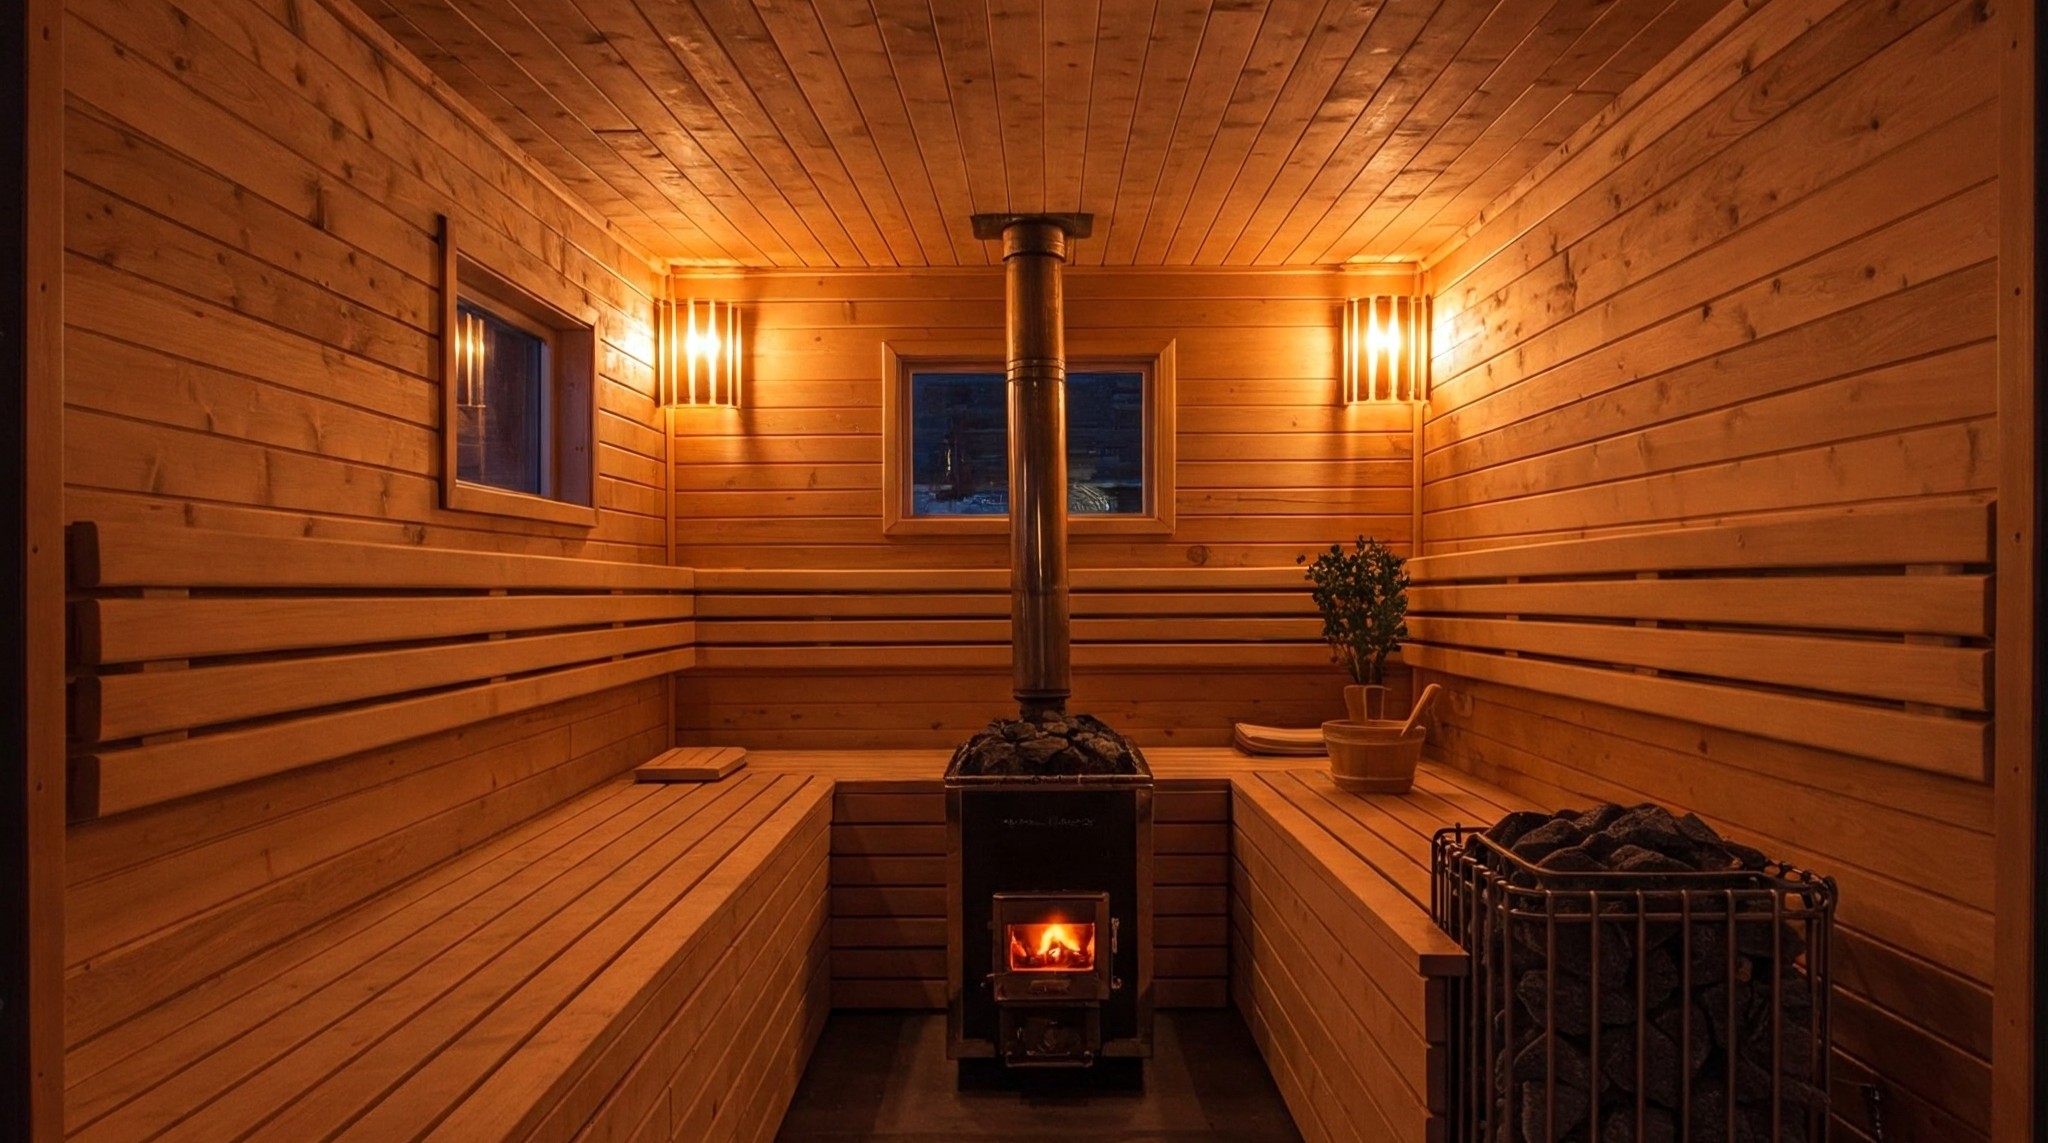
As container saunas by sauna builders begin appearing in the market, it’s only a matter of time before questions about common container sauna problems start popping up.
Much like container homes and barndominiums, your humble container saunas can have problems that can worsen if you don’t fix them properly.
Also Read: Shipping Container Towers: Specs, Applications, and Examples
Contents
Common Problems
Without further ado, let’s see how we can fix these common container sauna problems if they happen in your container!
Rust and Corrosion
Shipping containers are built from weathering steel (Corten), which resists rust better than regular steel, but they’re not immune, especially after years at sea.
Once you start cutting for doors, windows, or vents, you expose fresh metal that can rust quickly, especially in the humid, high-moisture environment of a sauna.
As a result, do these when building your container sauna:
- Rust Mitigation: Before you start your sauna build, inspect the container for any signs of rust or corrosion, especially on the roof, floor, and corners. Sand down any rust spots to bare metal, then apply a marine-grade primer and finish with a rust-resistant paint or sealant.
- Ongoing Maintenance: Check the exterior twice a year and touch up any scratches or exposed areas. Inside, keep an eye on areas near water sources or where condensation may collect.
Condensation, Mold, and Moisture Control

Despite the strength of steel containers’ structure, said structure can also cause severe condensation that ruins anything inside them.
When the hot, humid air inside the sauna meets the cool steel walls, moisture condenses and can drip down, leading to mold, mildew, and even rust inside your sauna.
Do the following actions as proper and effective solutions:
- Proper Insulation: Use high-quality, water-resistant insulation such as polyisocyanurate (PIR) boards or mineral wool. Avoid insulation that traps moisture, like open-cell spray foam, which can absorb water and promote mold growth.
- Vapor Barrier: Install a foil-faced vapor barrier behind your wood paneling to keep moisture out of the wall cavities. Tape all seams carefully for a tight seal.
- Ventilation: Always ventilate your sauna after use. Leave the doors or windows open for at least an hour to let the room dry out. Install an exhaust fan or vent to help air circulate and moisture escape.
- Routine Cleaning: Wipe down benches, walls, and floors every two weeks with mild soap and water to prevent mold buildup.
Framing and Wall Shape Issues
Because the container sauna’s structure walls are corrugated, they can bow after years of heavy use, making it tricky to frame straight, flat walls for your sauna interior.
Before that happens, you can do these steps:
- Correct During Framing: When building out your sauna, use shims and careful measurement to ensure your framing is square and level. Attach framing to the container’s ribs with construction adhesive or bolts, then add your insulation and paneling.
- Custom Carpentry: Be prepared for custom cuts and adjustments, especially around corners and where walls meet the ceiling or floor.
Heat Retention and Energy Efficiency
Steel containers lose heat quickly, especially if not properly insulated. This can make your sauna less efficient, harder to heat, and more expensive to run.
So, what can you do to keep heat from leaving the sauna and make your energy use efficient?
- Insulate, Insulate, Insulate!: Use a combination of rigid foam boards and a foil vapor barrier to reflect heat into the room. High R-value insulation is essential for keeping the heat in and the cold out.
- Seal All Gaps: Pay special attention to corners, around doors and windows, and where electrical or plumbing penetrates the walls.
- Choose Efficient Heaters: Select a sauna heater that matches the size of your space. An underpowered heater will struggle, while an oversized one may waste energy.
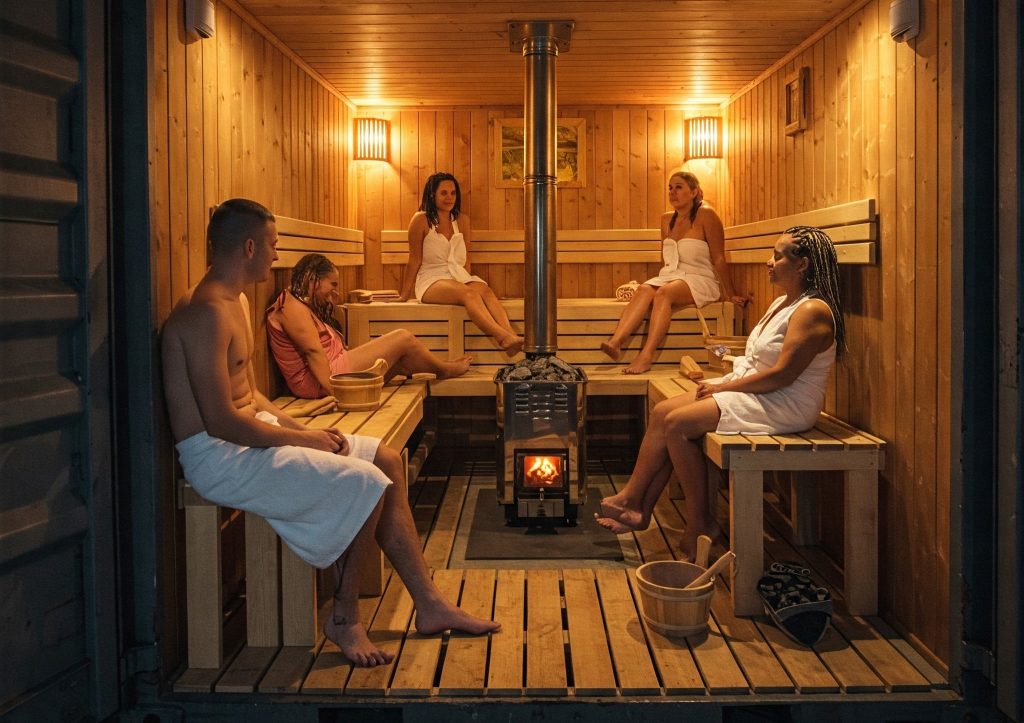
Ventilation and Air Quality
A shipping container sauna can quickly become stuffy and uncomfortable if not properly ventilated.
Poor air circulation can lead to lingering odors, excess humidity, and even health issues.
These fixes can be effective in providing the best ventilation for your container sauna:
- Install Vents: Add intake and exhaust vents to allow fresh air to circulate. Place the intake vent low (near the heater) and the exhaust vent high on the opposite wall for best airflow.
- Use Fans: If natural ventilation isn’t enough, install a small, heat-resistant exhaust fan to pull moist air out after each use.
- Routine Airing Out: Always leave doors or windows open after use to let the sauna dry out completely.
Flooring and Drainage
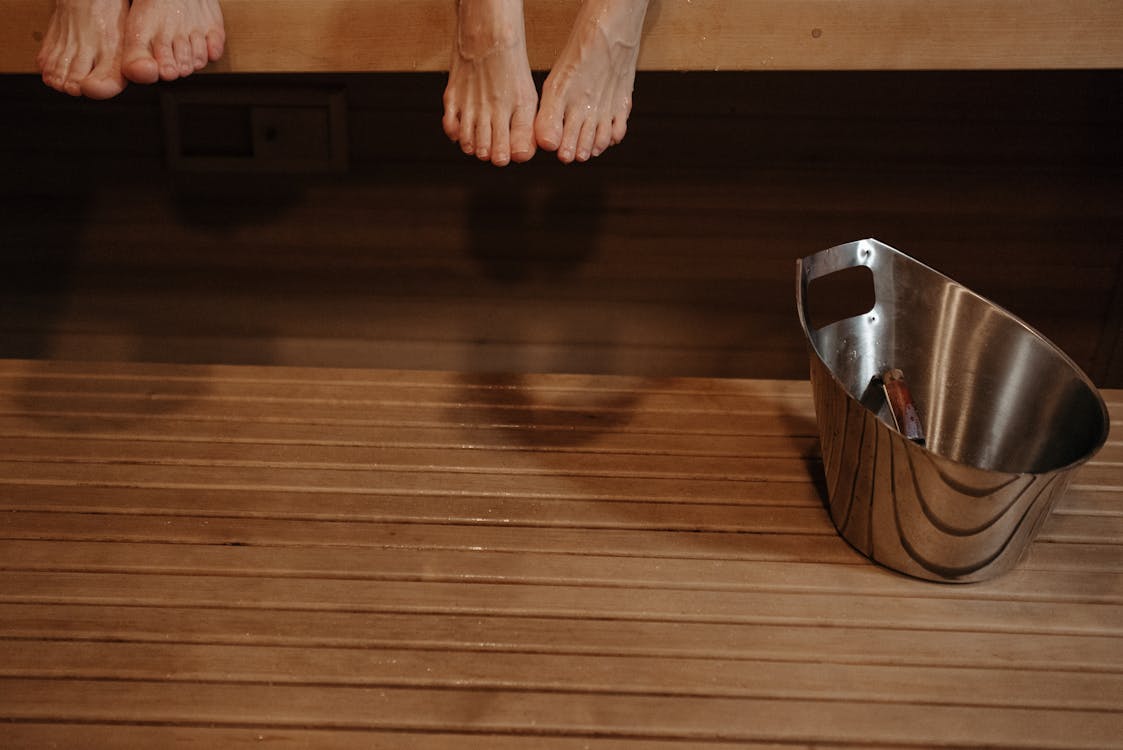
Water is a given in any sauna. Without proper drainage, puddles can form, leading to rot, mold, and rust on the container floor.
Even when there’s water inside the sauna, it won’t cause problems if you do these:
- Slope the Floor: Build a slight slope toward a floor drain, ideally leading outside or to a French drain beneath the container.
- Waterproof Materials: Use durable, water-resistant flooring like tile, sealed wood slats, or marine-grade vinyl.
- Elevate the Floor: Install a duckboard or slatted wood over the main floor to allow water to drain and air to circulate.
Utility Installations: Electrical and Plumbing
Installing heaters, lighting, and showers in a steel box presents electrical and plumbing challenges. Mistakes can lead to safety hazards or code violations.
- Hire Licensed Pros: Always use certified electricians and plumbers for installations. Water and electricity are a dangerous mix, especially in a high-humidity sauna.
- Use GFCI Outlets: Ground Fault Circuit Interrupter outlets are a must for safety.
- Waterproof Fixtures: Choose lighting and switches rated for wet locations.
Exterior Appearance and Community Acceptance
Shipping containers have a utilitarian, industrial look that might not blend in with your home or neighborhood. Some communities may have restrictions on container structures.
You can do these fixes to improve the sauna’s overall appearance:
- Cladding and Paint: Soften the look with wood cladding, paint, or even a green roof.
- Landscaping: Use plants, fencing, or trellises to help the sauna blend into your yard.
- Check Local Codes: Always check with your local planning office before starting your build.
Structural Shifting and Door Alignment
Shipping containers can shift slightly over time, especially if placed on uneven ground or moved frequently. This can affect door alignment and structural integrity.
To prevent the shifting from happening, do these:
- Solid Foundation: Place your container on a level, well-compacted gravel pad, piers, or a concrete slab.
- Recheck Alignment: After moving or settling, check that doors and windows open and close smoothly. Adjust as needed.
Wood Shrinkage and Interior Finishing
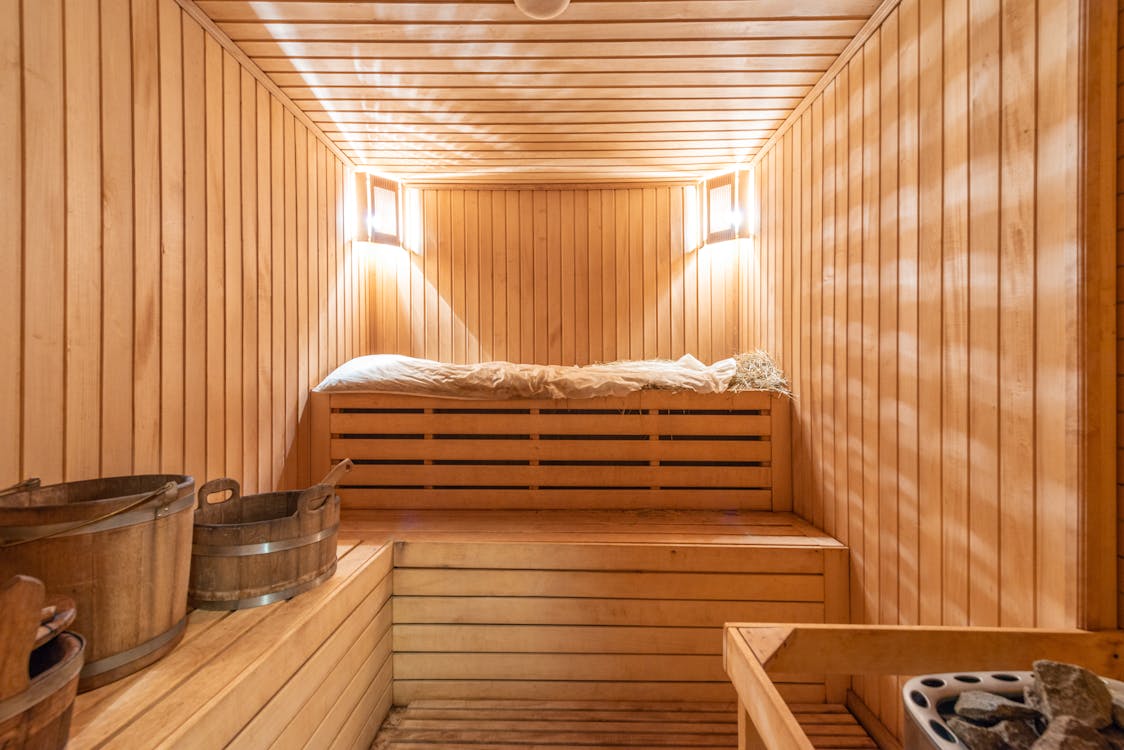
Sauna interiors are typically finished in cedar or other softwoods. In the fluctuating heat and humidity of a sauna, wood can shrink, warp, or develop gaps.
So, what can you do to prevent the sauna’s wood interior finishes from shrinking or warping?
- Acclimate Materials: Let wood paneling and benches acclimate to your environment before installation.
- Leave Expansion Gaps: Install wood with small gaps to allow for movement.
- Regular Maintenance: Inspect for gaps or loose boards and repair as needed.
Maintenance Routine
Neglecting maintenance can lead to mold, rust, and a decline in sauna performance.
Because of that, regular maintenance at certain times is key to your container sauna’s longevity:
- Regular Cleaning: Clean benches, floors, and walls every two weeks.
- Quarterly Heater Checks: Inspect and clean the heater to ensure safe, efficient operation.
- Semiannual Exterior Checks: Inspect for rust, paint damage, or leaks.
- Ventilate After Every Use: Always air out the sauna after each session.
Overheating and Safety
A container sauna can overheat if the heater is too powerful for the space or if ventilation is inadequate, leading to discomfort or even safety hazards.
To keep your container sauna from overheating, do the following:
- Match Heater to Space: Choose a heater rated for your sauna’s cubic footage.
- Install Thermostats and Timers: Prevent overheating and ensure safe operation.
- Educate Users: Post clear instructions on safe sauna use.
Pest Control

Gaps around doors, vents, or under the container can allow insects or rodents to enter, especially if the sauna sits unused for long periods.
To keep pests from entering the sauna, do these preventative actions:
- Seal All Gaps: Use weatherstripping, caulk, and mesh screens on vents and under doors.
- Elevate the Container: Place it on piers or a slab to prevent burrowing.
- Routine Inspections: Check for signs of pests regularly, especially after long absences.
Also Read: Shipping Container Barndominium – Common Problems and Fixes
Conclusion
While common container sauna problems can happen (sometimes unexpectedly), knowing how to do the best fixes can solve them right away and keep your sauna functioning perfectly. If you need the containers in perfect condition before turning them into container saunas, contact Tradecorp today! Perfect for conversion into container homes, offices, and saunas, Tradecorp’s shipping containers are here to satisfy all clients.